Hello to All My Readers!
Mater and I just finished planting our garden for this year! It is DEFINITELY the best ever! You've probably seen our posts before where we have gotten 16 zucchinis in one day; we hope this year will yield produce in huge amounts for freezing (and eating!) We have a moderate sized garden, and this year I started planning it early, doing a lot of research which I will post below :-)
Alma Mater's Garden
We purchased a Homestead Blessings DVD. It gives SO-SO many great tips on gardening, and we would definitely recommend it. Here are some notes from watching the DVD:
~Gardener's Gold~
We were rich this year! Our Gardener's Gold made for some amazing soil. What is Gardener's Gold? Well, it's mostly compost. We mix ours with manure: Moo-Doo it is called and the W's chicken poop! It works wonders!
As always: I have pictures...
Rus is in charge of taking the compost bin in the kitchen (which collects all of our kitchen scraps) outside to the compost bins. Now before I write about that I am going to list the different things you can (and can't) compost.
Inside the kitchen you can compost...
Banana Peels
Egg Shells
Lettuce
Coffee Grounds (you can also compost the filters! Just throw the whole thing in there. For a while you might need a list like we used to remind people, (like tired fathers in the morning groping over to the coffee pot and (oh no!) throwing the lovely compost into the trash. After a while it becomes habit.
Anything not COOKED. That is NOT good for compost.
Outside the kitchen...
Greens: Weeds...Yes! This shocked me too! I mean, putting WEEDS back into the garden? I had to gulp and throw the weeds in there. Also add grass clippings, anything like that :-)
Browns: Dry leaves from the fall...see there IS a use for everything...Sticks, and the like. But make sure you don't just throw tons and tons of stuff in there, just a nice layer.
Now here are the layers that you can use for composting once you have a bin or pile
Dirt, Straw, Leaves, Manure, Kitchen Scraps, Weeds and Grass Clippings, Twigs
And KEEP MOIST! This is important. And when too wet, add dry material, such as straw.
Here is our kitchen scraps bin
Here is our 'everything' bin!
Hope you enjoyed this 'Gardener's Gold' Section of
Container Gardening
If you don't have a nice plot of land, never fear! You can still garden :-D Here are some tips and hints for starting a container gardening.
The Golden Rule for Container Gardening is:
HAVE FUN AND BE CREATIVE!
Look at the picture below (note: I found this on Google) It is such a cute idea!
You can just take a box, drill some holes in the bottom. Fill with dirt, and then plants. You can lay the plants root balls on their sides; this will leave more room for extra plants. Wetting the roots before planting is also a good idea.
It's as simple as that!
Lasagna, or Pizza Gardening
This is just about the simplest form of gardening! Take some cardboard and spread it on a plot of land; it doesn't even need to be tilled! Then take some soil, (composted is best!) but potting soil will work too, or peat moss, etc. etc. Pull apart the layers and plant your gardens! You can make it a pizza garden by planting herbs, tomatoes, anything you need to grow your homemade pizza! (People always ask us how it can be a pizza garden without cheese and pepperoni!) ;-)
Our Garden
Now, I have talked enough about the different types of gardening: let's get to OUR garden!
Below is a list of some of our plants and which bugs they repel and where to plant them:
Petunias: Aphids
Marigolds: Many bugs, best to be planted by the tomatoes
Impatiens: Japanese Beetle
Sage: Plant by broccoli
Dahlia: Nematodes, plant by tomatoes
Lavender: Plant by the herbs
I found a site for 'Companion Planting'. Usually, (as you will see if you go back to earlier posts) we have done all of our herbs in one section. This is a little bit easier if you want to dash outside and grab that sprig of rosemary or cup of basil, but this isn't always the best for the plants!
Here is a list of Companion Plants:
Basil and Tomatoes
Beets and Lettuce, Onion, etc.
Lettuce and Carrots, Radishes, Beets, Broccoli, Cabbage, Onions, Cukes
Parsley and Tomatoes
Rosemary and Beans, Sage, etc.
Zucchini and Beans, Radishes
Here are some plants that DON'T do well next to each other:
Beans and Garlic or Onions
Beets and Pole Beans
Carrots and Dill
Cukes and Sage
Potatoes and Tomatoes
Fennel and EVERYTHING-I didn't know this, but this year we planted our fennel away from some of our plants. Fennel apparently inhibits their growth.

Here are our garden plants, waiting to be planted!
Now, you have seen the pictures of our front. It is packed with plants, some of which are attracting hummingbirds and butterflies! I go outside and see our Fuscia hanging basket and a little hummingbird flitting among the flowers and we have seen some unusual types of butterflies.
Below are some of the plants out front:
NOTE: We are trying to plant more perennials each year! I listed which plants were perennials below)
1 Phylox subulata Ronsdofer Beauty (Perennial)
1 Babylon Red (Annual)
2 Bugleweed (Annual)
1 Dusty Miller (Perennial)
3 Petunias (Annual)
1 Easter Star (Annual)
1 Helen Mount (Annual)
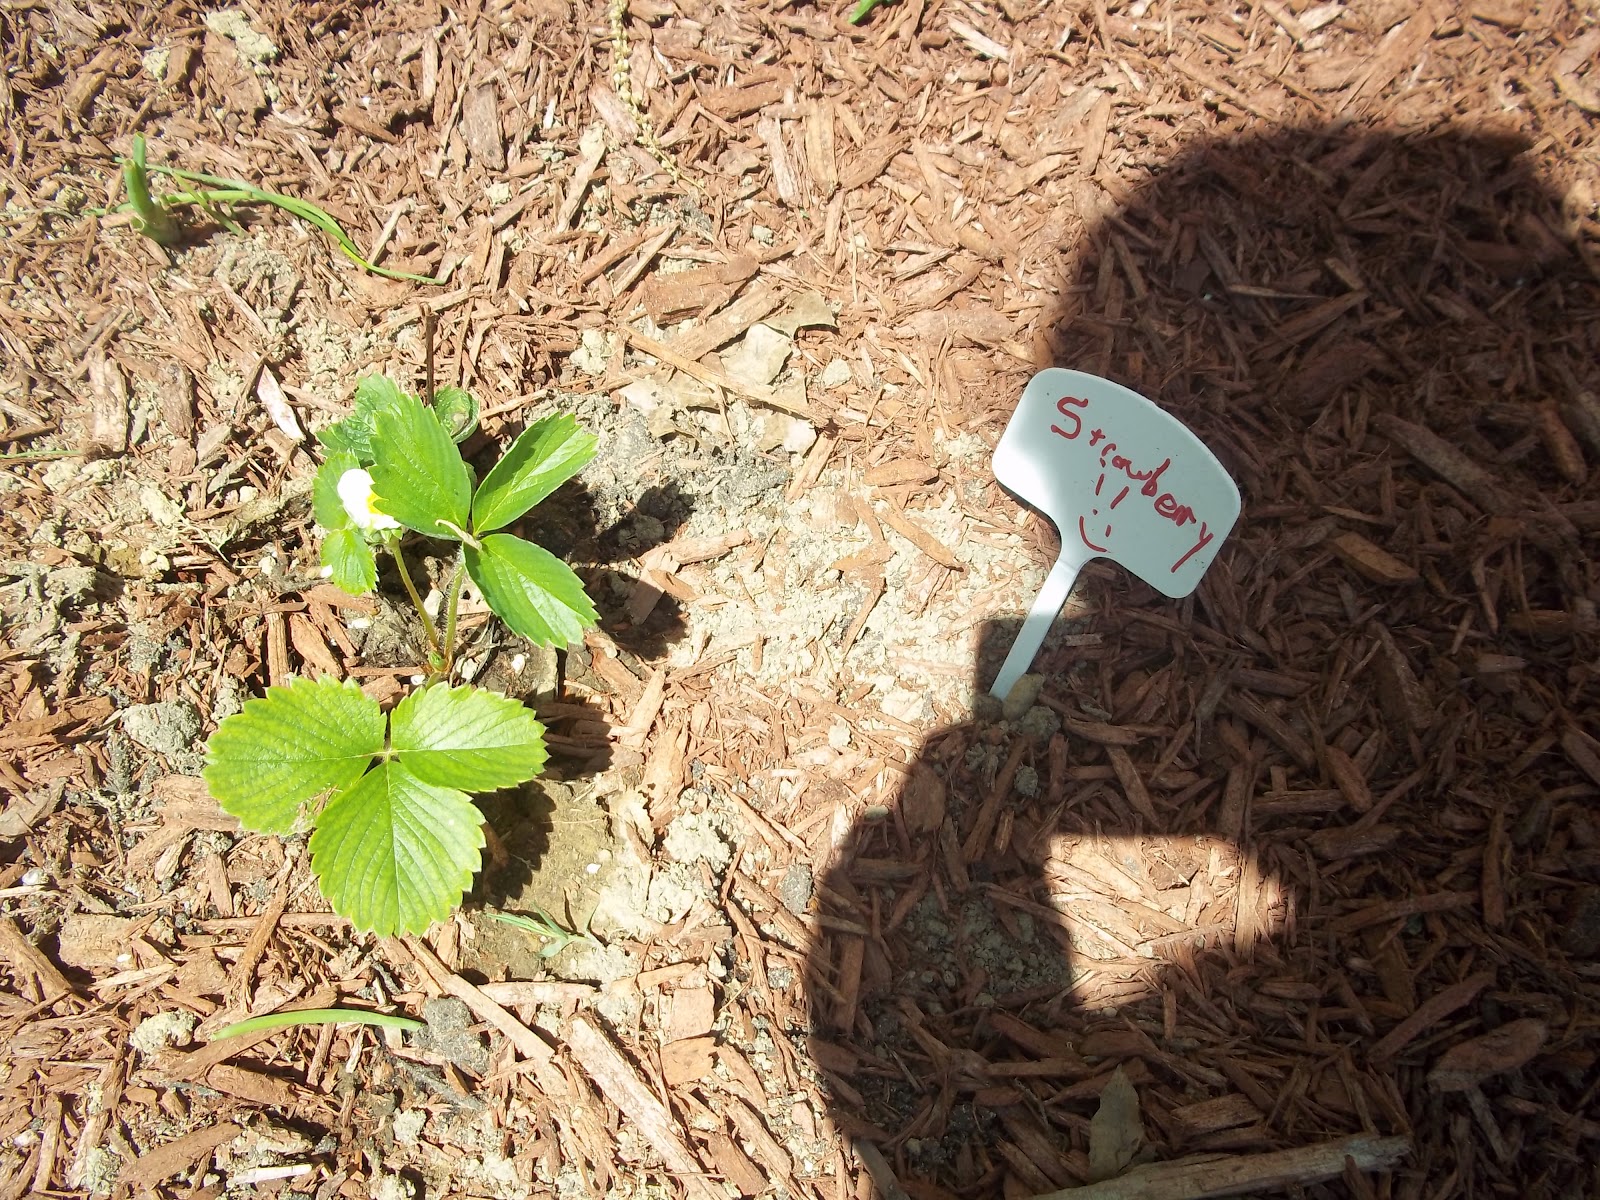
On the side of our yard, by the deck, I planted a lemon verbena and stevia, both fabulous in tea, and a strawberry plant.
Stevia and Lemon Verbena (left to right)
And on our deck Mom planted lettuce in huge bins, filling them with soil...
Here are our sprouts...
We have tried to make our actual vegetable garden more attractive this year! So I researched as you have seen above, the pest-control plants. These are in a strip on the front of the garden! (This also keeps little Filia from picking our tomatoes!)
Here is our garden before being planted...
First we started out with landscaper's canvas...
After spreading our compost over our garden, we rolled out the canvas onto it; this keeps the weeds away.
Stapling it down we cut holes in it and planted!
...
...
...
...
...
...
~Three hours later~
Here is our strip of bug repelling flowers
Up close...
Marigolds
Petunias...
Impatiens
:-D Back to the vegetable garden :-D
Here is a list of our plants...
Flower Strip: 4 6-packs of Marigolds
1 Dahlia
1 6-pack Petunias + 1 Pack of Petunias
2 6-pack Impatiens
1 Begonia
Plants listed are 6 packs and already started unless otherwise indicated...
Tomatoes: 2 Beefsteak, 1 Roma, 2 Grape
Cukes: 2
Squash: 1 Winter and 1 Yellow
Zucchini: 1
Brussel Sprouts: 1
(Peppers below)
Peppers: 1 Sweet Bell
1 Red
1 Banana
Broccoli: 1
Lettuce: 3 Buttercrunch, 1 Mesclun, 1 Pack of Seeds and the Lettuce Buckets

Herbs: 1 Sage
3 Cilantro, 1 Parsley, 2 Basil, 2 Rosemary, 1 Dill, 1 Fennel, 1 Oregano, 1 Lavender
(Pictured below)
And Plants From Seed...
Peas
Green, Yellow, and Purple Beans
I hope you have enjoy 'Gardenin' ' with us today!


