Showing posts with label Tutorial. Show all posts

Thursday, July 6, 2017

Panwiches (Siobhan)


~Panwiches~

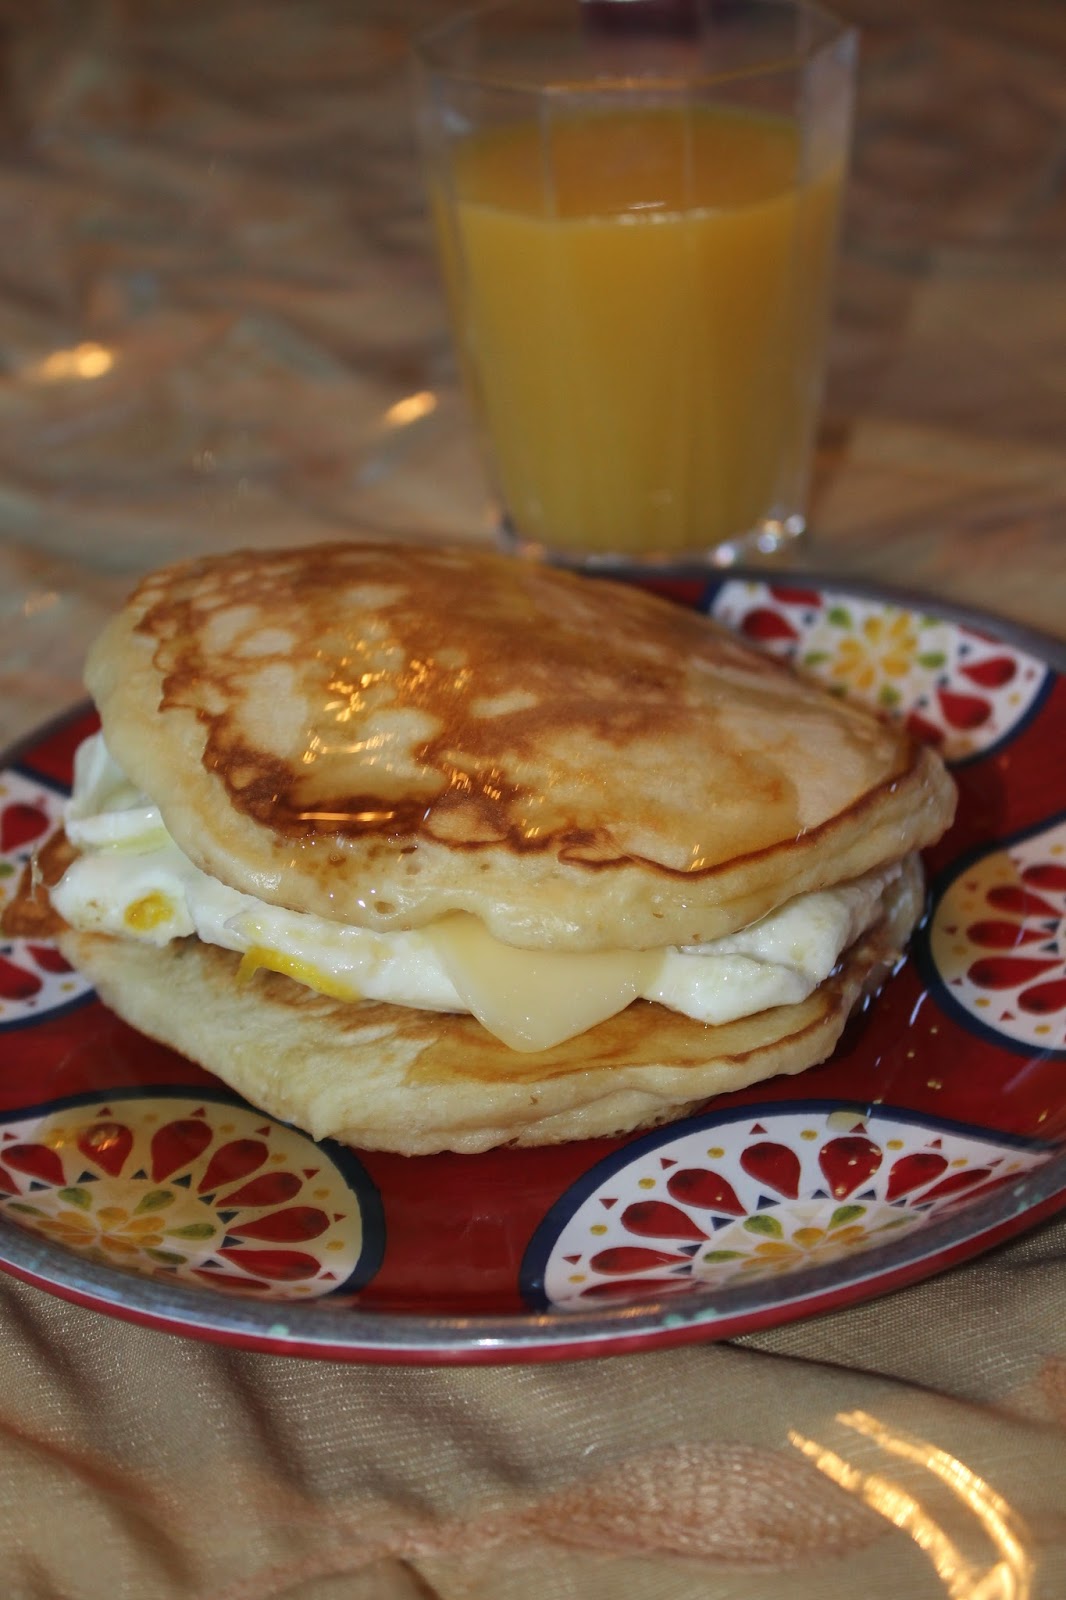
Last week our family went to the White Mountains. On the way we stopped to get a delicious breakfast at Polly's Pancake Parlor. The breakfast was SO good, and one of the items on the menu was a 'panwich.' Ethan and Aidan tried and loved it, so we decided to recreate panwiches at home. Panwiches are just sandwiches made out of pancakes! They are so easy to make and taste amazing.
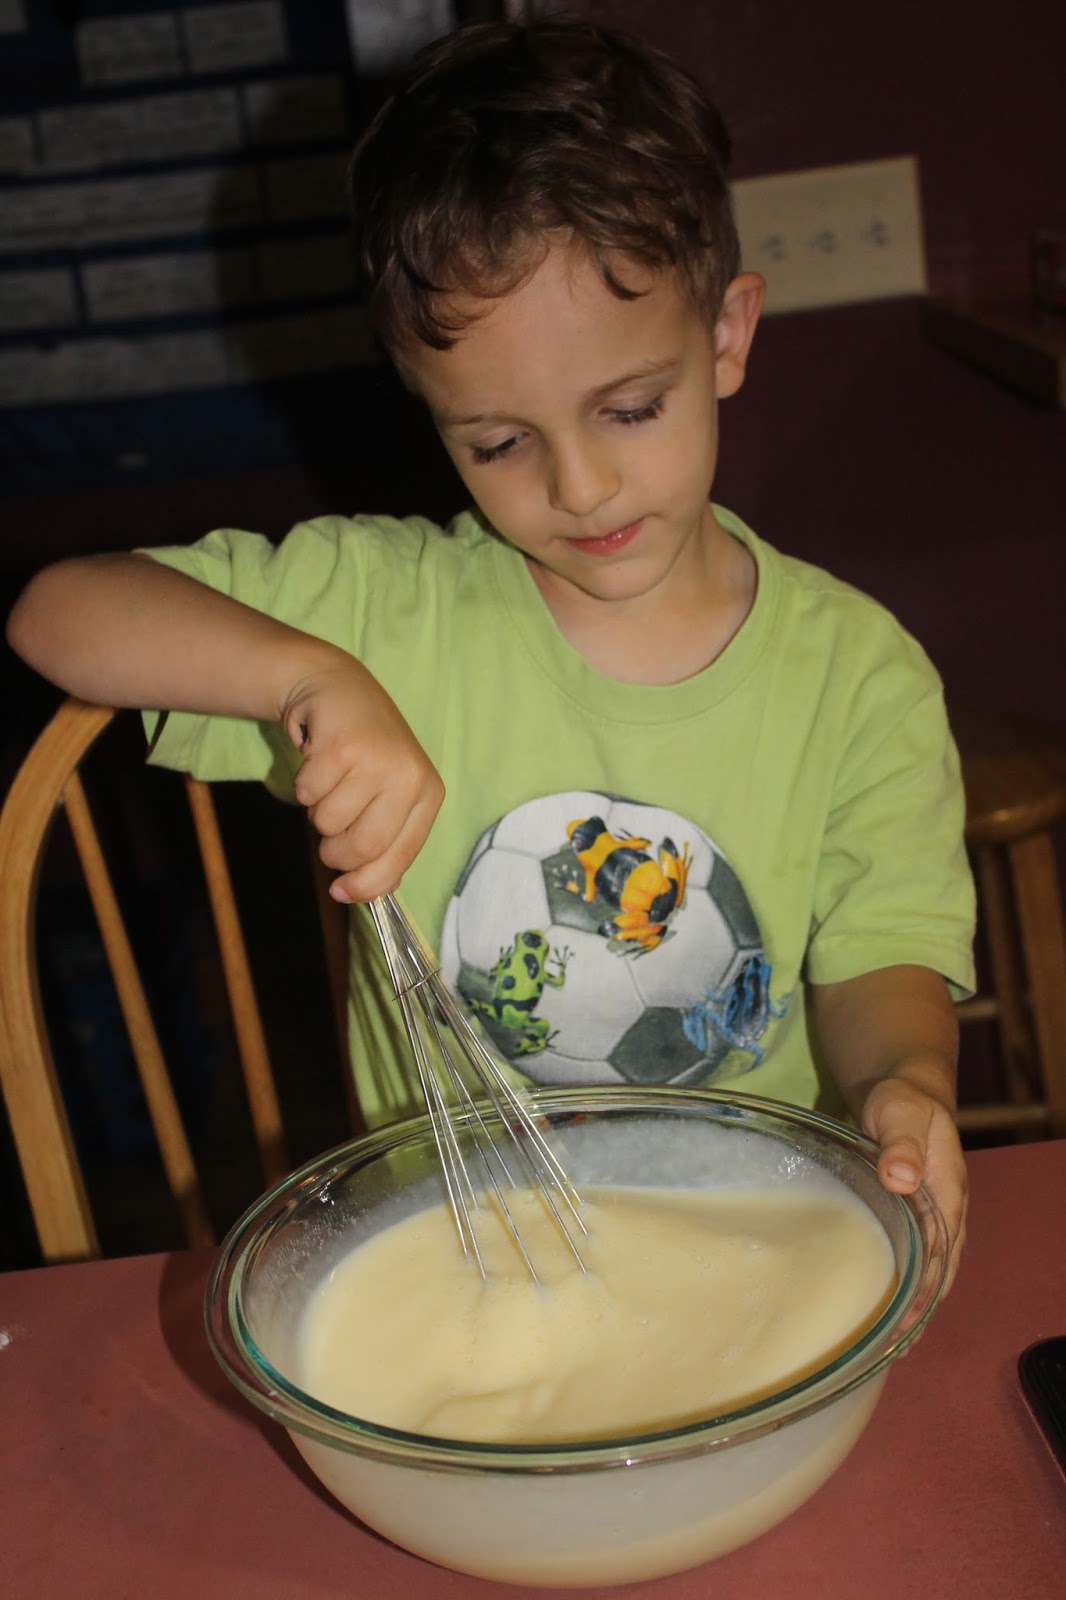
 To make panwiches, you need pancakes! We chose this buttermilk pancake recipe. The buttermilk is essential for  perfectly light, fluffy pancakes. Just mix your dry and wet ingredients separately and then gently combine them. The key to avoid dense pancakes is not overmixing your batter. Stop mixing when there are no big streaks of flour. Lumps are totally fine! I like to let my batter sit while the griddle preheats so it gets nice and bubbly.
 Panwich pancakes should be BIG! I used a very generous 1/3 cup full of batter per pancake.
The panwich fixings are up to you! We put in a fried egg, a piece of sausage and some cheese. Then we drizzled maple syrup over the top. These are SO yummy!
Enjoy!!

Tuesday, February 16, 2016

Robin Hood Hat Tutorial (Siobhan)

~Robin Hood Hat Tutorial~

It's halfway through February, and for us that means last minute DI projects in preparation for our tournament in March. I've worked on some of the costumes, and I made a hat for our Robin Hood character. I looked up a tutorial online, but it was pretty confusing and I decided to make my own. Here is the tutorial I put together!

Supplies

Green Felt or Flannel
Thread
Pins 
Sewing Machine
Red Feather
*Recommended: 1/4 inch foot

First, you need a template.
*Note: We don't have a printer that can print out 11x17 patterns, so I just printed the pattern on multiple pages.
 First, trace the hat on some green felt. Repeat, so that you have both sides of the hat.
 Pin the two sides together. Sew along the top of the hat. It is marked for you on the template, but the above picture shows you where you need to sew.

I used a 1/4 inch foot on my sewing machine to get an accurate seam. If you don't have one, you can also mark the 1/4 inch line on your machine with some tape.
 Next I tucked up the bottom edge of the hat (this is the trickiest part to show in pictures!) so that it had about a 1/2 inch seam. I sewed this with a regular foot.


After I finished my hem, I tucked the bottom of the hat up so it had a nice finished look to it. I sewed along the hem in a couple of spots so that the tuck would stay in place.


I added the feather to the hat at an angle, and I sewed back and forth along the hem where I stuck it in. It stayed put very nicely, and it gave the hat a great finished look.
I hope this tutorial was helpful! Stay tuned for more DI posts soon.

Sunday, April 19, 2015

Cake Decorating Craziness... By: Siobhan

-Cake Decorating Craziness-

We decided to take April break early, and I decided to get a couple cakes decorated (one for some friends and another for Tert's birthday.) It was definitely a lot of work, but I was happy with how they came out and wanted to share some pictures...
 For this first cake I did a basketweave on the sides and on the top 2/3 of the cake. I added a dot border on the top and then a bunch of little drop flowers and some shaggy mums and rosettes.
 Both of the cakes were two-layer triple chocolate fudge cakes with buttercream frosting.
Tert requested a soccer cake for his birthday. I did a basketweave on the sides, a star border on the bottom, a dot border on the top, and a soccer ball design. I used the template below to get the soccer ball: 
To get the frosting to be a true black, I just used a little bit of cocoa powder and some black Wilton coloring. It made a perfect black without making the frosting taste metallic.

Happy Decorating!

Monday, February 9, 2015

Frozen Olaf Valentine Tutorial By: Siobhan

It's almost Valentine's Day, and we have a lot of Valentine's Day crafts and recipe posts coming up. We were snowed in from church yesterday, and Tert, Filia and I had a lot of fun making these. They are essentially just melted Olafs, with a cute tag that says: 'Valentine, You're Worth Melting For!'
 Supplies: You'll need some jumbo marshmallows, regular marshmallows, mini marshmallows, pretzel sticks, mini chocolate chips, candy corn (regular or Valentine's Day candy corn), to/from tags, a hole punch, twist ties, markers, treat bags or ziplock bags, red ribbon, and scissors.
Click here to print out these to/from labels. Cut out the labels and hole punch them.
 I didn't have any treat bags, so we just cut off the top of a ziplock bag.
 First, slice a jumbo marshmallow in half lengthwise. This will be the base of the snowman. Place it inside your bag.

 
Next cut a tiny bit of marshmallow off the front of a regular sized marshmallow. This leaves a sticky area where you can push on two mini chocolate chips for buttons.

;
Cut the regular marshmallow in half. The half with the chocolate is the body. The other half is the head. Your bag should look something like the top right picture.
 Put a candycorn, two mini marshmallows, and a pretzel stick snapped in half in the bag. Put a twist-tie on the top of the bag. Tie a ribbon onto it and add a tag.

 Little Lux had his first marshmallow. He loved it, but he had trouble fitting it into his mouth :) 


I hope you enjoyed this valentine tutorial. Stay tuned for more Valentine's Day posts this week...